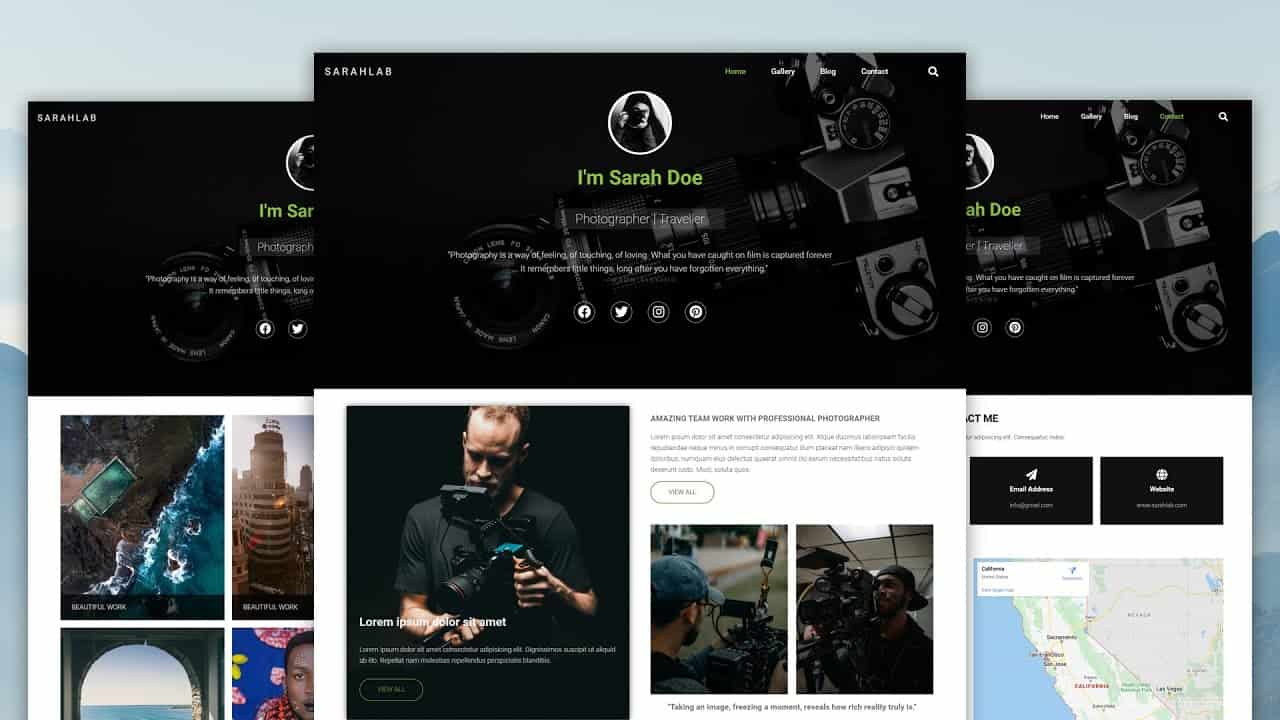
A photography website is essential for showcasing your portfolio, connecting with clients, and building your brand. Whether you’re an amateur photographer looking to share your passion or a professional aiming to attract new clients, a well-designed website can set you apart. Here is a comprehensive guide to help you create an effective photography website.
Step 1: Define Your Goals
Before starting, clarify the purpose of your website. Ask yourself:
- Are you showcasing your portfolio?
- Do you want to sell prints or photography services?
- Are you trying to attract clients or build a community?
Clearly defined goals will help you make informed decisions about design, content, and functionality.
Step 2: Choose a Domain Name
Your domain name should be:
- Memorable: Easy to spell and remember.
- Relevant: Reflect your brand or photography niche.
- Professional: Avoid numbers, hyphens, or slang.
For example, if your name is Jane Doe, consider domains like JaneDoePhotography.com or DoePhotography.com. Use domain registration platforms like GoDaddy, Namecheap, or Google Domains to secure your desired name.
Step 3: Select a Web Hosting Provider
Web hosting is essential for making your website accessible online. Choose a reliable hosting provider with features like:
- Fast loading speeds.
- Ample storage for high-resolution images.
- Secure hosting with SSL certificates.
Popular hosting providers include Bluehost, SiteGround, and HostGator.
Step 4: Choose a Website Builder or Platform
Photography websites need visually appealing layouts and easy customization. Consider these popular platforms:
1. WordPress
- Pros: Highly customizable, extensive plugin library, and scalable.
- Cons: Requires a learning curve.
- Best for: Professionals needing advanced features.
2. Squarespace
- Pros: Beautiful templates tailored for photographers, all-in-one solution.
- Cons: Limited customization compared to WordPress.
- Best for: Beginners seeking simplicity.
3. Wix
- Pros: Drag-and-drop interface, user-friendly.
- Cons: Less scalable for large portfolios.
- Best for: Small portfolios and easy setup.
4. SmugMug
- Pros: Built specifically for photographers, integrated e-commerce.
- Cons: Limited design flexibility.
- Best for: Selling prints and displaying portfolios.
Step 5: Select a Template or Theme
Your website’s design should highlight your photography. Look for templates with:
- Full-screen image displays.
- Clean and minimalistic layouts.
- Responsive design for mobile and tablet users.
Popular marketplaces for WordPress themes include ThemeForest, StudioPress, and Elegant Themes.
Step 6: Organize Your Portfolio
Create categories or galleries based on your specialties, such as:
- Portraits
- Weddings
- Landscapes
- Commercial photography
Limit each gallery to your best work—quality over quantity is key.
Step 7: Add Essential Pages
A well-rounded photography website includes the following pages:
1. Home Page
- Feature a captivating hero image or slider.
- Include a clear call-to-action (e.g., “View Portfolio” or “Book a Session”).
2. Portfolio Page
- Showcase high-quality images.
- Organize galleries by theme or project.
3. About Page
- Share your story, style, and experience.
- Include a professional photo of yourself.
4. Services Page
- List the services you offer, such as event photography, portraits, or photo editing.
- Include pricing or invite visitors to request a quote.
5. Contact Page
- Provide a contact form for inquiries.
- Include your email, phone number, and social media links.
6. Blog (Optional)
- Write articles on photography tips, behind-the-scenes stories, or recent projects to engage visitors and improve SEO.
Step 8: Optimize for SEO
Search engine optimization (SEO) helps your website rank higher in search results. Follow these SEO tips:
- Use relevant keywords in titles, descriptions, and alt tags.
- Optimize image sizes for fast loading without sacrificing quality.
- Write meta descriptions for each page.
- Create a sitemap and submit it to search engines like Google.
Step 9: Enable E-Commerce (Optional)
If you plan to sell prints or photography services, add e-commerce functionality:
- Use platforms like WooCommerce (WordPress), Squarespace Commerce, or SmugMug’s integrated store.
- Set up secure payment methods like PayPal or Stripe.
- Include detailed product descriptions and pricing.
Step 10: Ensure Mobile Responsiveness
A significant portion of web traffic comes from mobile devices. Test your site on various screen sizes to ensure:
- Images load quickly.
- Navigation is intuitive.
- Text is legible.
Step 11: Incorporate Social Media Integration
Link your social media profiles to your website. Use social media plugins or widgets to:
- Display your Instagram feed.
- Add share buttons for your portfolio or blog posts.
Step 12: Test Your Website
Before launching, thoroughly test your website:
- Check for broken links.
- Ensure pages load quickly.
- Test contact forms and e-commerce features.
- Review spelling and grammar.
Step 13: Launch and Promote
Once your website is ready:
- Announce the launch on your social media platforms.
- Share the link with friends, family, and clients.
- Use email marketing to reach potential clients.
Step 14: Maintain and Update Your Website
Keep your website fresh and relevant:
- Regularly update your portfolio with new work.
- Post blog articles to keep visitors engaged.
- Monitor website analytics to understand visitor behavior and improve performance.
Creating a photography website requires careful planning and execution. By following these steps, you can build a professional platform that showcases your talent, attracts clients, and helps you achieve your goals. Start today, and let your website become a powerful tool in your photography journey.


